If you want to start editing a quick and consistent image look, you need to install Lightroom presets. But even in this simple process a lot of problems can occur. Or you don’t know where to start. This is due to the numerous program versions. And with that, some differences on how you can install Lightroom presets.
How to install Lightroom presets? What should I do if the presets do not appear in the preset section? How do I install Lightroom Mobile presets?
Installing Lightroom presets is easy. So in this post, I’ll show you how to install Lightroom presets of any version quickly and easily.
Tip: First look at which Lightroom version you have installed. This can be found at the top of the menu bar under Help -> System Information… . Or via Lightroom Classic -> About Lightroom Classic…. . But there are also small differences between Lightroom Classic CC and Lightroom CC.
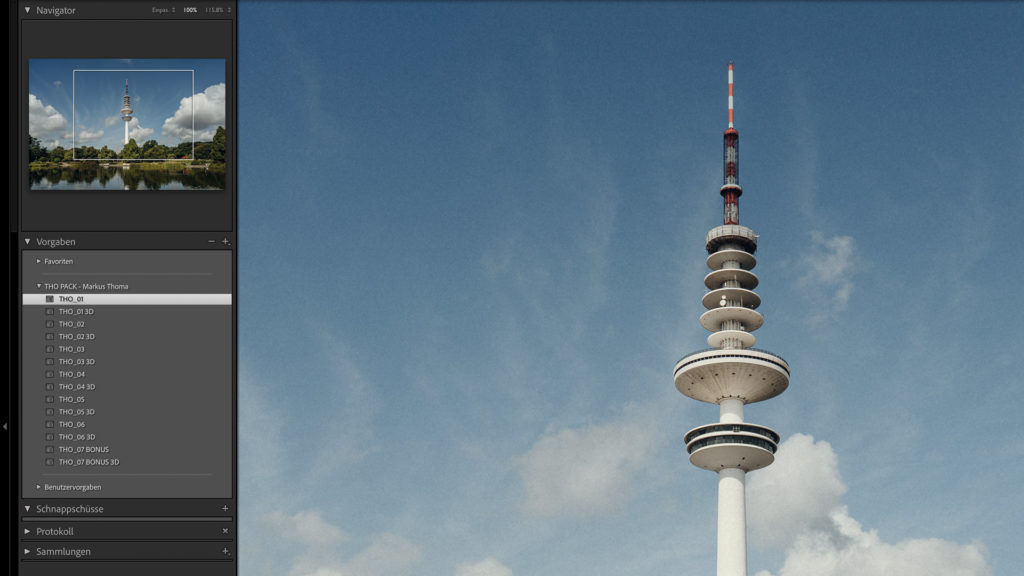
For explanation I show the process with my THO Lightroom Preset & Profile package. With these presets you can edit an atmospheric color looks in seconds. Of course the installation of all presets works the same.
Simply jump to the correct version via the following overview:
1. Installing Lightroom Presets in Classic & CC
The following method works in newer Lightroom Classic versions that already have the “+”-button in the preset-section:
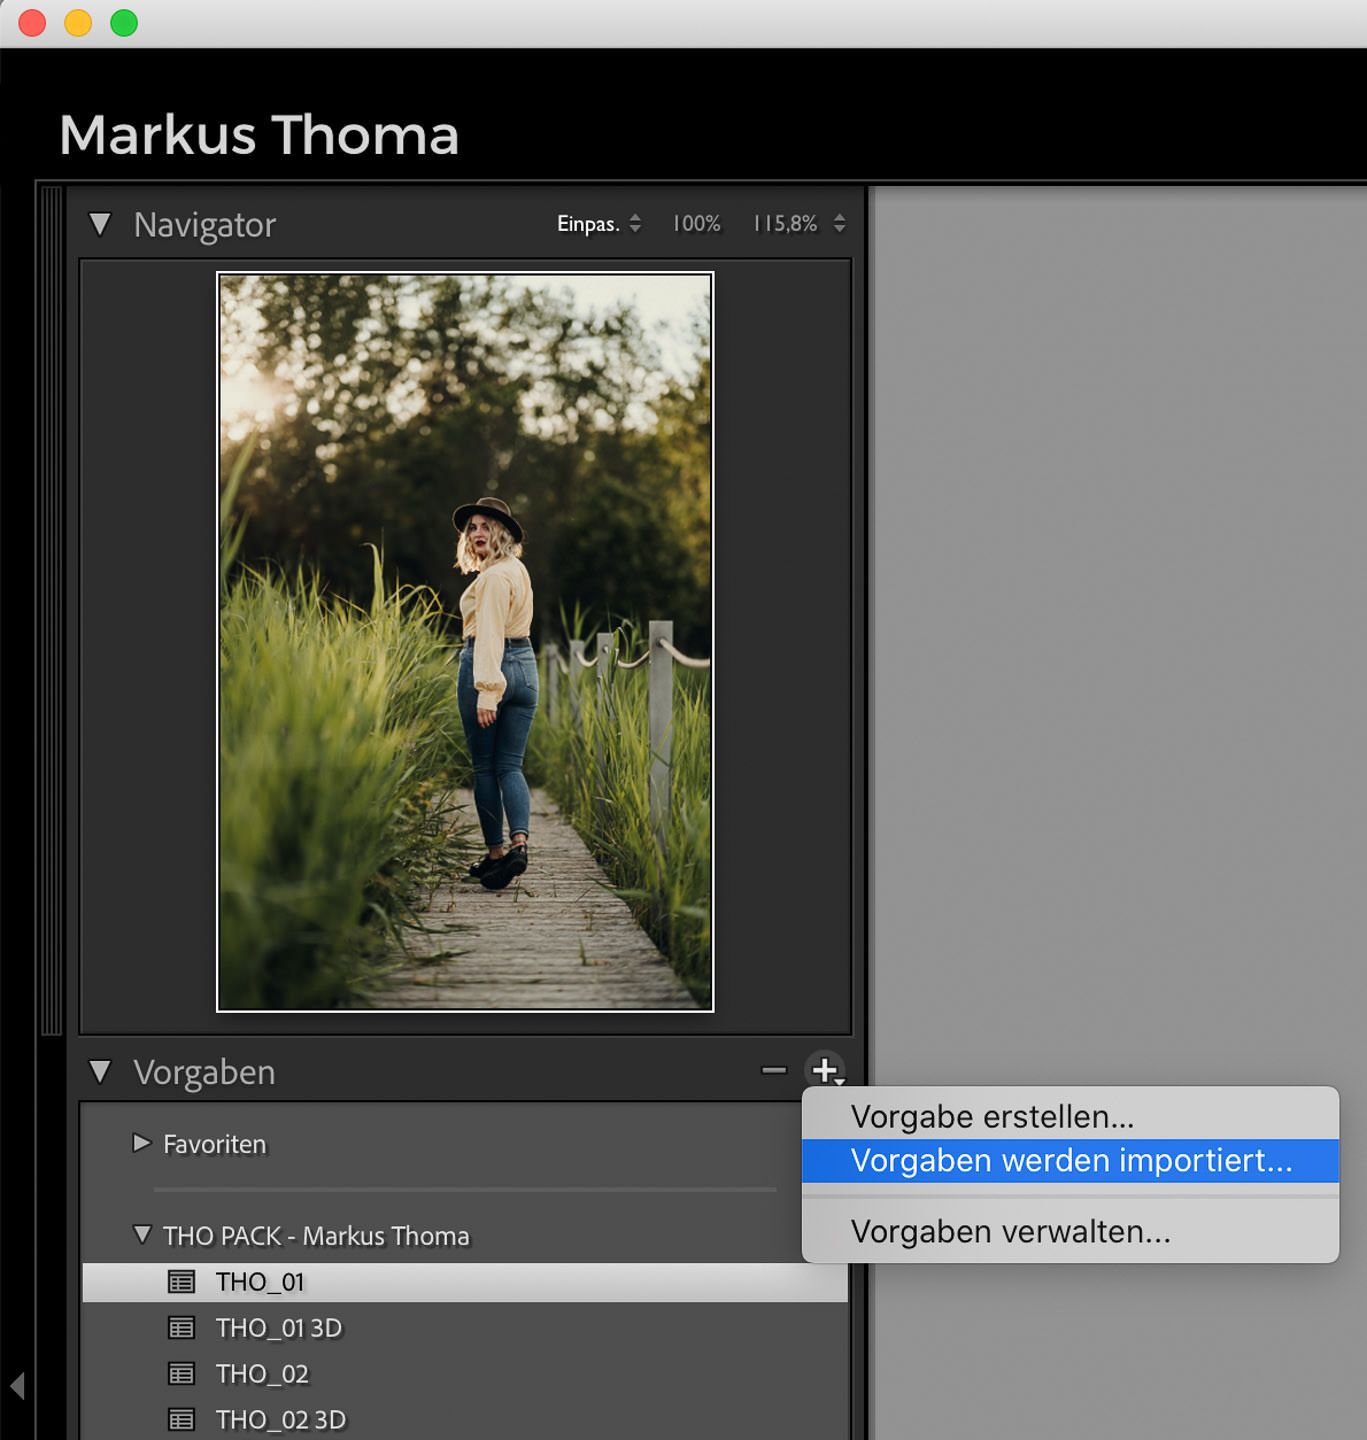
- Go to the Develop tab
- Click on the big “+” symbol on the left side of the Presets module.
- Select Import Presets…
- Select the folder or individual presets you want to install
- Confirm and the installation will start
In Lightroom CC you can find the option in the lower right corner under Presets. With the three points “…” above you can see the Import Presets… function.

Tips:
- By uploading packed .ZIP-Folders, Lightroom will automatically unzip and import the included presets. So they will be pasted directly into the right folder.
- If the “+”-symbol is not yet available in your Lightroom Classic version, check if the import option appears after right-clicking on the preset panel.
2. Insert presets into Lightroom preset folder file path
If you don’t get the presets installed with the first way, there is a second possibility. Lightroom saves all presets in a special folder. You can paste the presets into this folder of your Lightroom installation – by restarting Lightroom they will be added automatically.
This way you can install the presets manually:
- Copy the unzipped preset folder to the clipboard (ctrl + C or cmd + c)
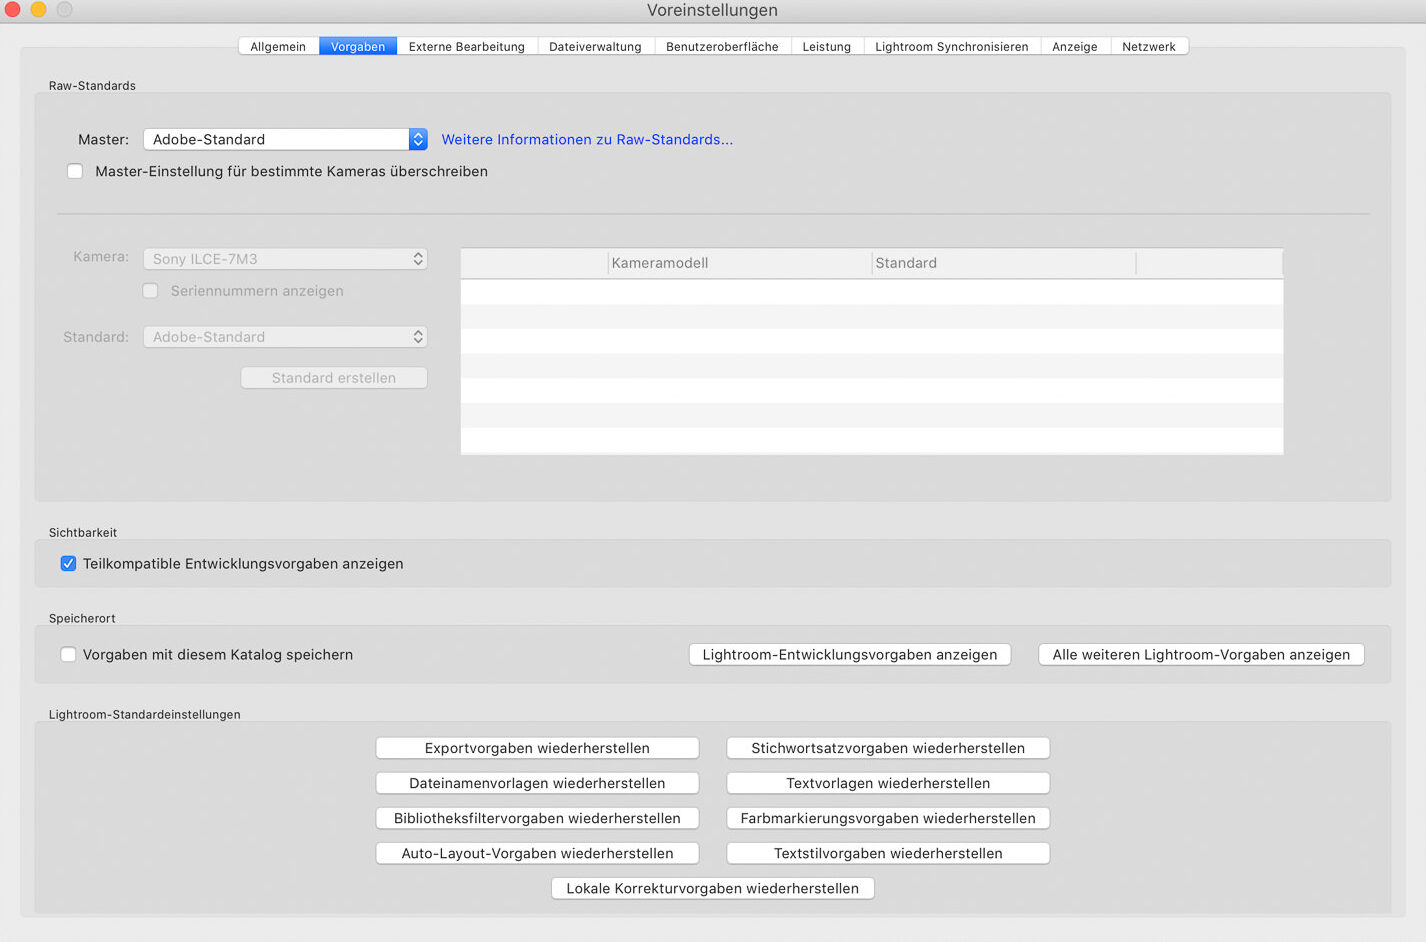
- Navigate to the Lightroom preferences / settings (Mac: Lightroom Classic -> Preferences…, Windows: Edit -> Preferences…)
- Go to the Presets tab within the preferences window
- Click on the left button “Show Lightroom Development presets” (or similar)
- The File Explorer opens
- Now open the Develop Presets folder (LR version 7.3)
- If you use Lightroom version newer than 7.3, use the Camera Raw -> Settings folder
- Paste the preset folder into the respective folder
- Single presets can be added to the User Presets folder
- Exit Lightroom and restart it
- The presets should now appear in the Presets module (either in their respective folder or individually in the User Presets)
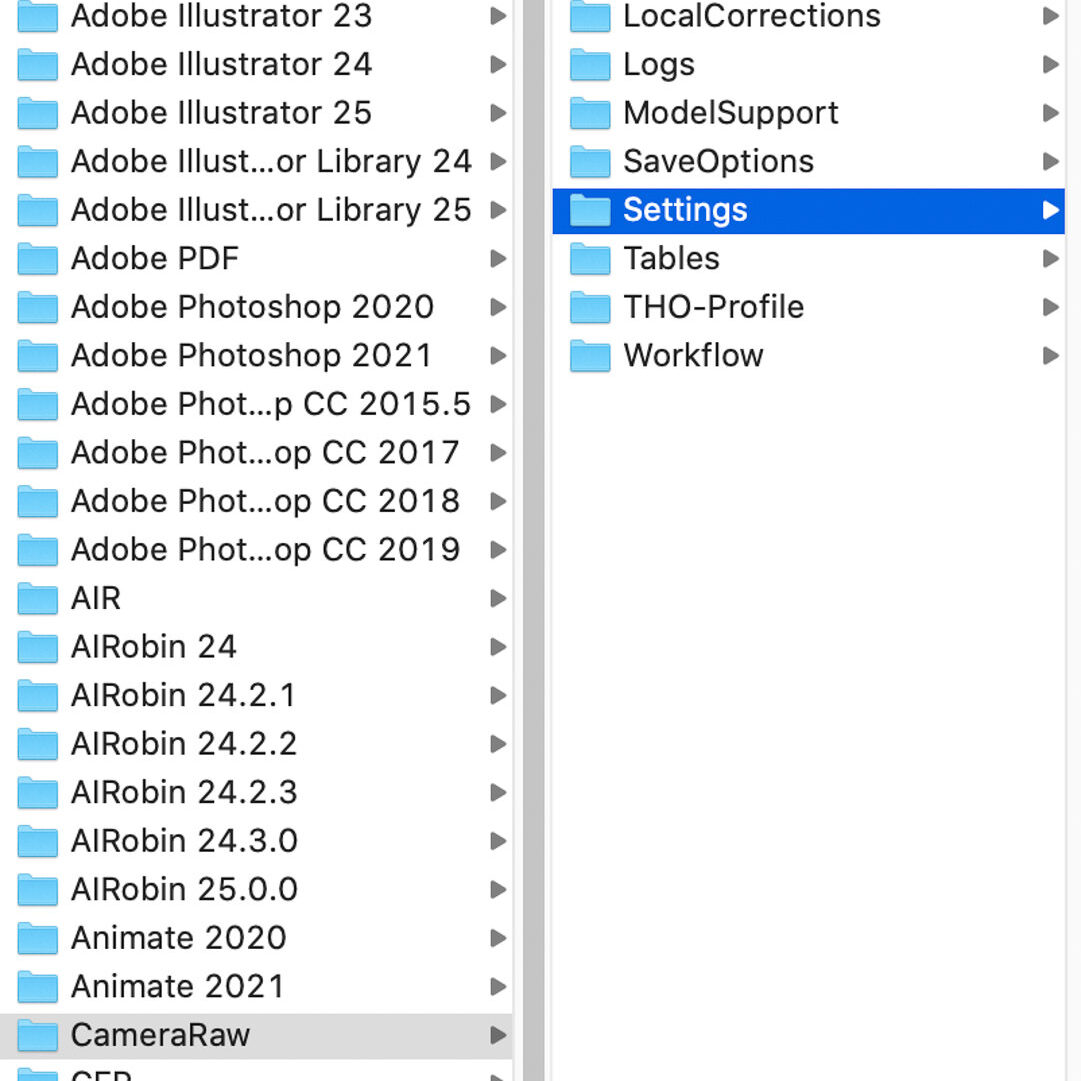
Good to know: Lightroom worked up to version 7.3 with presets in the .lrtemplate format. These were located inthe Develop Presets-Folder. Since version 7.3 the presets were converted to the .xmp format. These are now located in the CameraRaw -> Settings folder as described.
It can also be used with versions from 7.3 .lrtemplate files – the next time you start the program, Lightroom will automatically convert them to the new format .xmp um.
3. Install Lightroom Mobile Presets
You can also install Lightroom Mobile presets on your smartphone and use them for mobile editing. More specifically, this is also a version of Lightroom CC. So this is also cloud-enabled.
Therefore, there are now two ways:
Installation via cloud synchronization
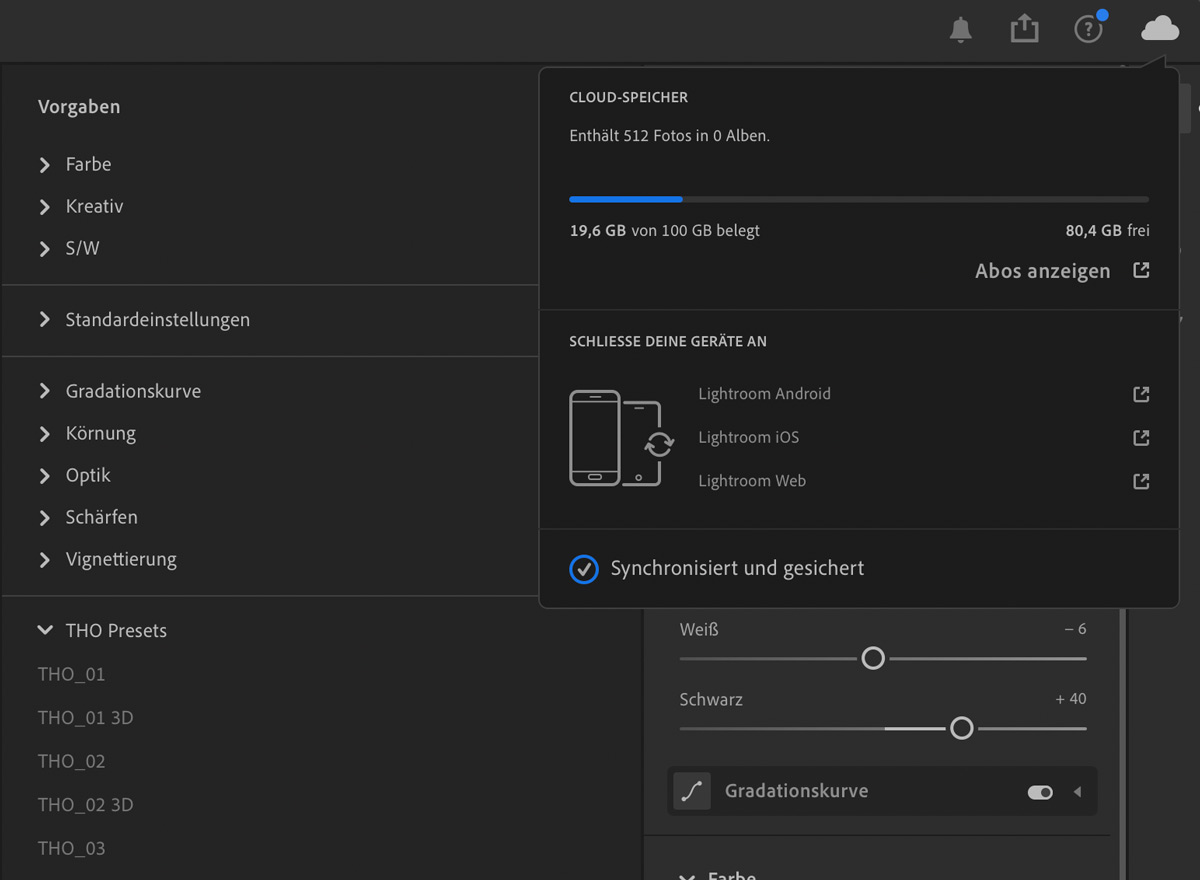
If you have an active Adobe Creative Cloud subscription, presets from the Lightroom CC desktop version automatically sync to the Lightroom Mobile version on your smartphone.
How to install Lightroom presets on your phone via Creative Cloud:
- Launch Lightroom CC on your computer
- Install the presets as explained in step 1
- Activate cloud sync (click on cloud in the upper right corner)
- Launch Lightroom Mobile on your phone (again)
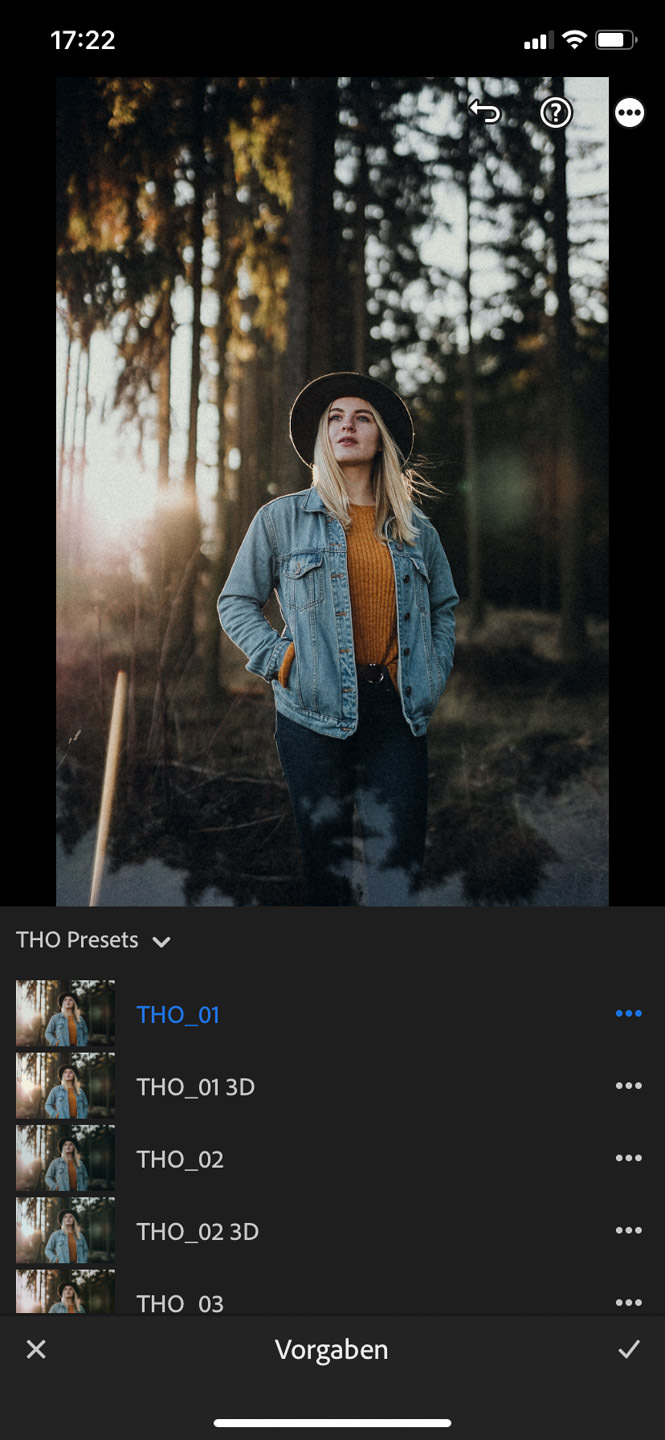
- The presets should now appear under the presets
Ready. If you have a CC subscription, it is relatively simple and all Lightroom CC versions will be synchronized with presets at the same level.
But not always such a subscription is available, so there is still the following option.
Installing Lightroom Mobile presets without a Creative Cloud subscription
Unless you have an active Adobe CC subscription, you can’t use Cloud Sync. Therefore, there is a simple workaround for the actually free Lightroom Mobile version.
The background to this is as follows: Presets only save the value with which the individual sliders were operated in Lightroom. But also in RAW photos these sliders are saved and are still visible after transfer to the phone. Here they must then only be used as “new” Preset can be saved – ready. Corresponding RAW files are included with my presets.
How to install presets in Lightroom Mobile without a Creative Cloud subscription:
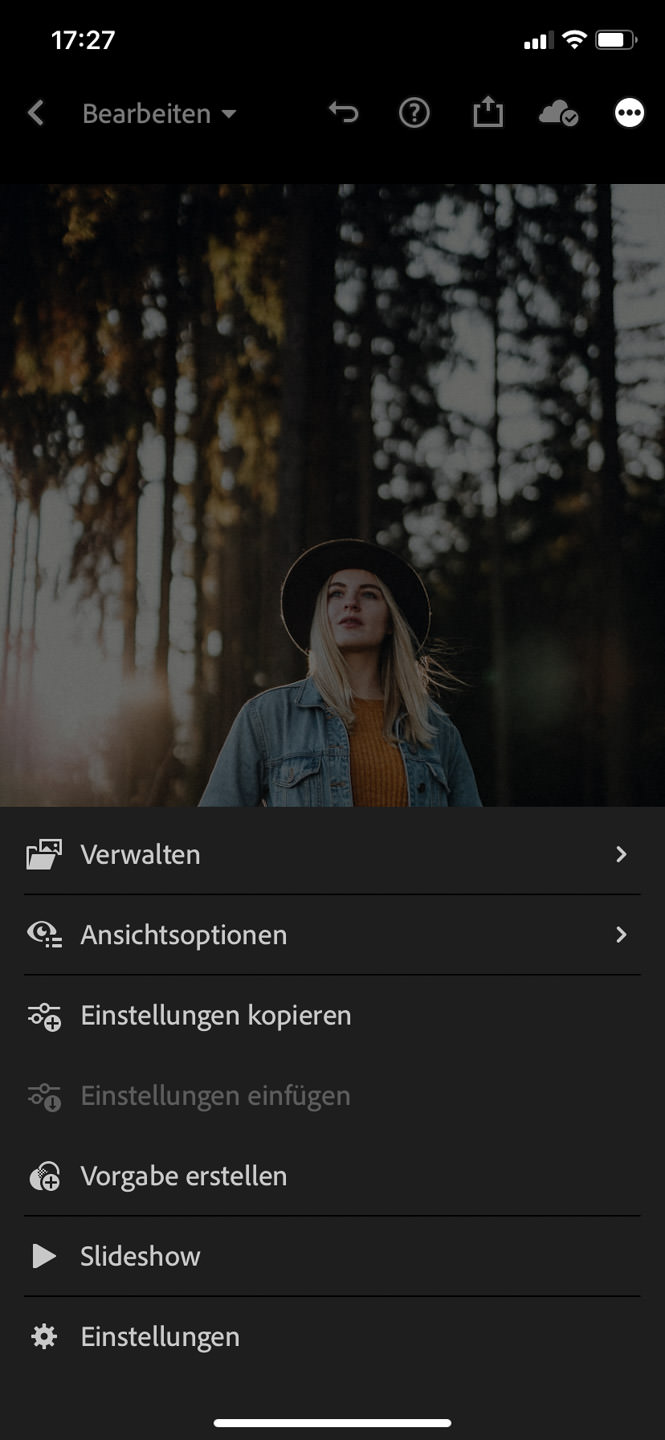
- Open Lightroom Mobile on your device
- Import the included RAW photos (mostly .DNG files)
- Now open one photo after the other, slider settings should be visible in each case
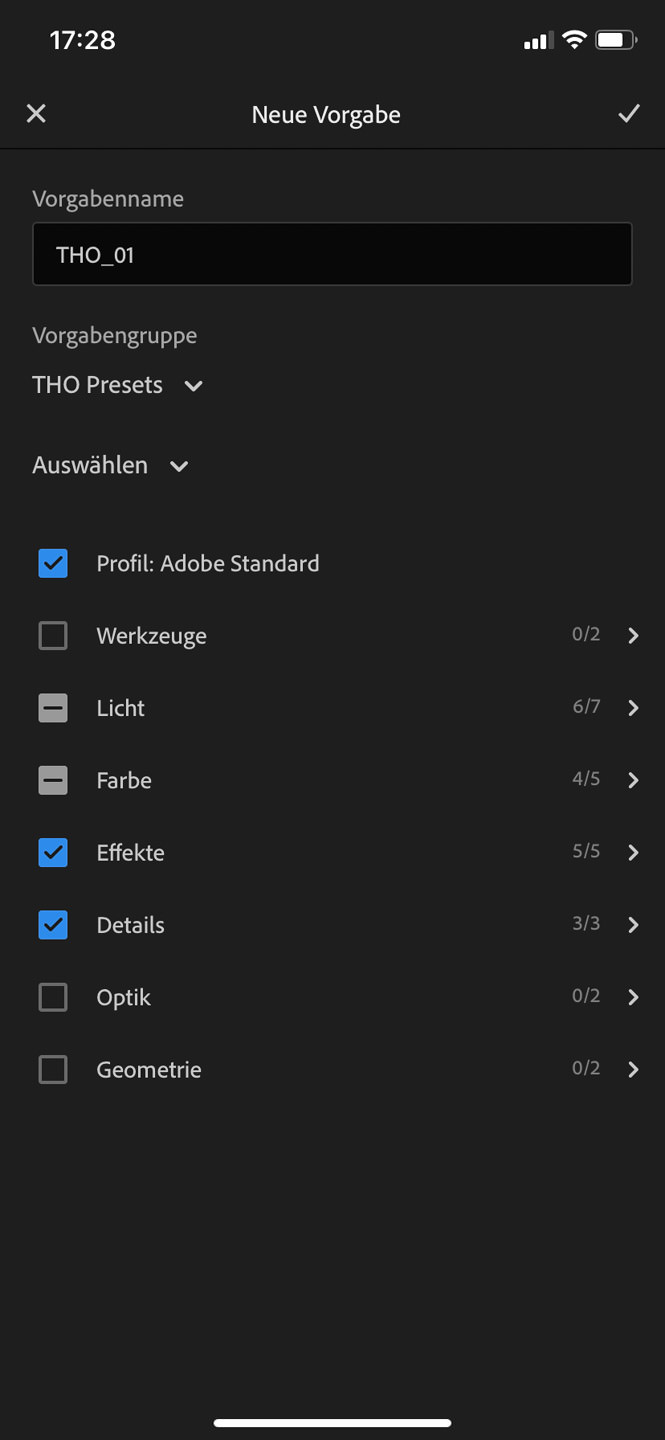
- Now tap on the three dots at the top right of each photo and Create Preset
- Select all options except exposure and white balance
- Save the settings as a new preset
- Repeat this step for all individual photos
Done. You can also use this option in case of problems with synchronization. To copy presets from desktop Lightroom to your free Lightroom Mobile version, you’ll have to do it the other way around. You simply have to place one of the presets on each image in Lightroom on your computer and save it as a DNG-File. Then send it to your smartphone, import the DNGs and start importing as mentioned above.
4. Import Lightroom Profiles (!)
Since Lightroom 7.3 there are not only presets in Lightroom. With 7.3 also profiles were introduced. You can find them on the right side above the basic settings.
These can include a complete color look, which can be controlled in intensity via the visibility slider.
The profiles can be used from version 7.3 and can be installed exactly the same way you did with the presets. You can just leave them in the compressed .ZIP folder and select it via the “+”-Symbol. Lightroom takes care of the rest. The profiles contained in my THO Lightroom Preset and Profile package are also in the .ZIP file. Ready for installation.
Note: Unlike presets, profiles do not work under any circumstances on JPG photos or other formats except RAW. So make sure you edit RAW files. For formats other than RAW, Lightroom simply hides the profiles.
5. Troubleshooting: Lightroom presets are not displayed
After importing the Lightroom presets and restarting the program, there is still no preset or profile visible? This can have several reasons. Therefore, a few causes and solutions:
- Something has gone wrong: Remove all presets again (either by right-clicking on the group in the presets window or by deleting them from the file path). Exit Lightroom. Restart the installation.
- Source files are damaged or missing: Packing, uploading, downloading, and unpacking between different operating systems can cause individual files to become corrupted or not survive the data-journey. That’s why I have included a link to download the files directly with my presets, so that nothing has to be unpacked. If necessary, request the presets again without – .ZIP-folder.
- Presets are displayed, profiles are missing: I say it again, because I get emails about this very often. Profiles really only work with RAW files. For JPGs and others, the profiles are simply hidden.
Conclusion and organization tip: How to install Lightroom presets
At the beginning it all sounds relatively complicated – I know. Once understood, however, it will be easy to install the Lightroom presets in the future.
Since Lightroom you will collect hundreds of presets over time (especially after using Lightroom for some years), it can quickly become confusing. However, Lightroom now offers two good solutions for this:
- Mark presets as favorites: Right-click to add individual presets to favorites. This is an extra defaults folder, which then clearly accommodates your favorites. However, this folder exists only virtually – no preset is physically moved on your hard disk.
- Hide unused folders: Back then you had to uninstall rarely used presets so that they no longer appeared in the list. Today you can sort them out by clicking on “+”-icon and selecting “Manage defaults…”. Here you can select or deselect individual folders with a check mark. Then only the selected ones are displayed in the overview. This can be adjusted quickly and easily at any time.
Now we’re done! I hope I was able to help you further and to cover the topic of the Lightroom preset installation now clearly.
If you are now wondering how to best work with the freshly installed presets, I recommend you read my article on Lightroom image editing.
P.S.: By installing the presets as .XMP file, they automatically become usable for Adobe Camera RAW as well.